
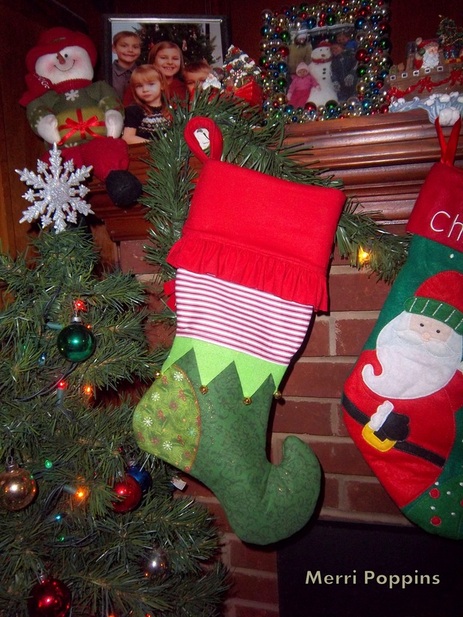
Elf Stocking Tutorial
How cute would it be to have a mantel full of elf stockings? It's a shame I don't have an embroidery machine because there would definitely be special Elf names involved! The cuff is plenty wide enough for names or to "dress up" the dress portion of the stocking. It almost reminds me of a "Leg Lamp" from "A Christmas Story". I would love to see someone try that as well!! Oh the endless possibilities of this pattern..............
With Elf on the Shelf being all the rage these days, I thought I would change Robin's free stocking pattern to just that! Here is the original tutorial and a contest if you are interested. So pinterest yet again has been inspiring with all of the little elves everywhere doing what they do. We don't have an Elf on the Shelf (gasp!) but I do enjoy all of the antics your elves are participating in!!!! I realized after gathering all of my supplies that this couldn't be all red/white striped. So, Mr. Merri and the oldest went to the store for me and picked up some green fabric (I guess the neighbor's elf borrowed mine to take Barbie on a picnic or something).
Items needed:
"dress/shorts" fabric (cuff, ruffle)
"tights" fabric (top half)
"shoe" fabric (bottom half)
"heal" fabric (applique)
mini jingle bells-girl version
1 large jingle bell-boy version
1 sheet of felt
interfacing
fabric for lining
Items needed:
"dress/shorts" fabric (cuff, ruffle)
"tights" fabric (top half)
"shoe" fabric (bottom half)
"heal" fabric (applique)
mini jingle bells-girl version
1 large jingle bell-boy version
1 sheet of felt
interfacing
fabric for lining
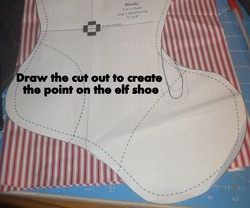
I started off by printing off the pattern. Then I shaped the existing toe
to a more pointy shape.
to a more pointy shape.
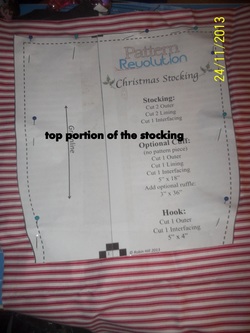
Cut out the top portion of the pattern without the bottom in your choice of fabric (mirror images).
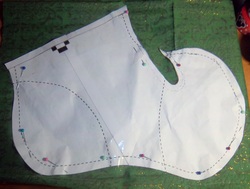
Cut out the shoe portion (mirror images) and the heal appliques. Then tape the two halves of your pattern together to finish cutting the interfacing. I did leave the edge of the paper at the top to allow for the seam allowance.
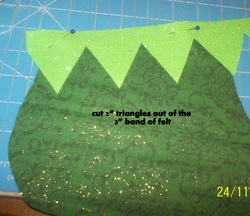
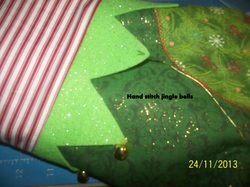
I cut (2) 3" X 12 pieces of felt then 2" triangles down the strip. The only reason I cut it down the strip was so that I could center it to my liking.
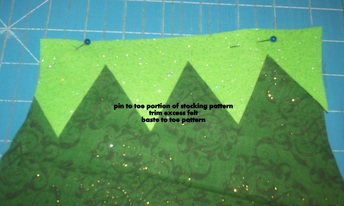
With the felt pinned to the top, trim the excess and baste the top.
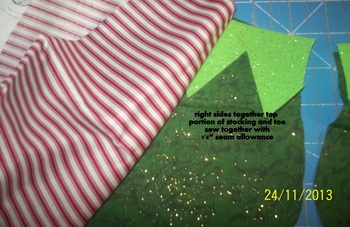
Now we are going to sew the top portion of the stocking to the shoe. Right sides together 1/4" seam allowance.
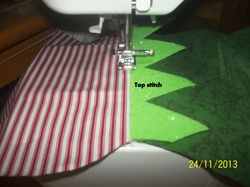
Top stitch your seam up towards the top of the stocking. I repeated these steps for both sides of my stocking.
You can then follow the rest of the pattern as is.
You can then follow the rest of the pattern as is.
I also used a decorative stitch when putting on the heal applique. I never get to use those!!! It was the perfect place.
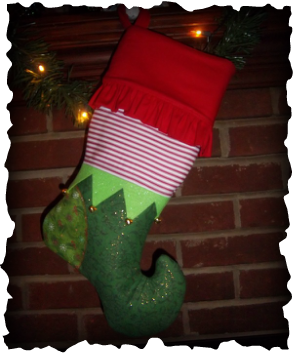
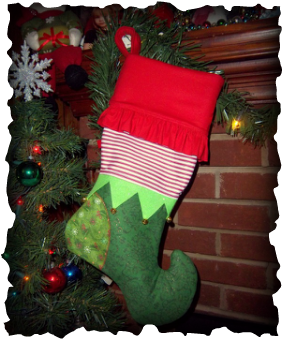
I chose to make a girl elf stocking but this could very easily be a boy elf as well. Just leave off the ruffle under the cuff and add a big bell to the toe. My final touch was to hand stitch the small jingle bells to the tips of the felt all the way around. I love the shape!!! Perfect for a big gift on top to hold all of the little ones in at the bottom. Thanks Robin for putting me in the Christmas mood!!!
I chose to make a girl elf stocking but this could very easily be a boy elf as well. Just leave off the ruffle under the cuff and add a big bell to the toe. My final touch was to hand stitch the small jingle bells to the tips of the felt all the way around. I love the shape!!! Perfect for a big gift on top to hold all of the little ones in at the bottom. Thanks Robin for putting me in the Christmas mood!!!
|
|
Until next time!!!
JaNette
Ps. That was the very first time I have ever sewn a stocking!!!
JaNette
Ps. That was the very first time I have ever sewn a stocking!!!
