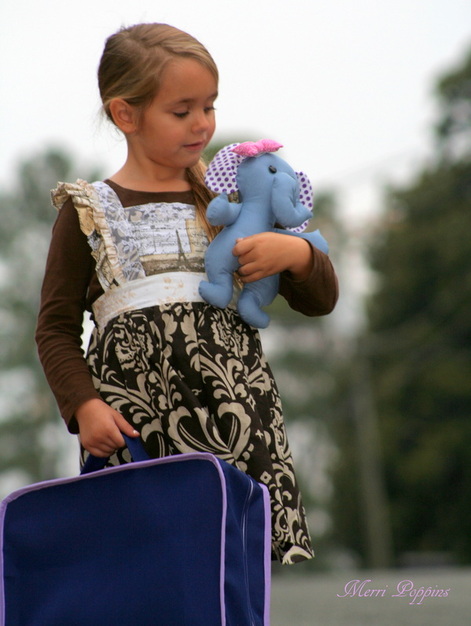
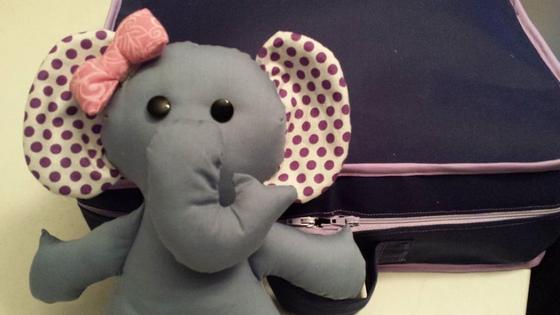
Move over lions, tigers and bears...oh my!! Ellie is here to stay! We are a little bias in this household to elephants, though. Jenna eats, breathes, and sleeps elephants. All things elephants. So when lovely Ellie by Ruby Jean's Closet came up for review I had to have her......er.. I mean Jenna had to have her. She went together fairly easy as far as stuffies go. Just make sure to clip the lines that need to be clipped almost to the stitching to insure it lays properly. Then stuff the heck out of it. That little elephant takes a bunch of stuffing!!! I didn't stuff Jenna's Ellie to the brim, however. We like a little wrinkle as it gives some character as some are "Saggy Baggy". The main thing to watch is to make sure you transfer the placements of eyes, trunk, etc over to your fabric. So make sure you have a washable fabric marker or something to mark those....it's extremely helpful. There is also a glossary of terms towards the end to help explain some of the sewing directions if you get stuck. I love that you don't have to fuss over attaching arms or legs. However, there are instructions to give her arms the ability to bend and it is another place you will need to mark with your washable fabric marker.
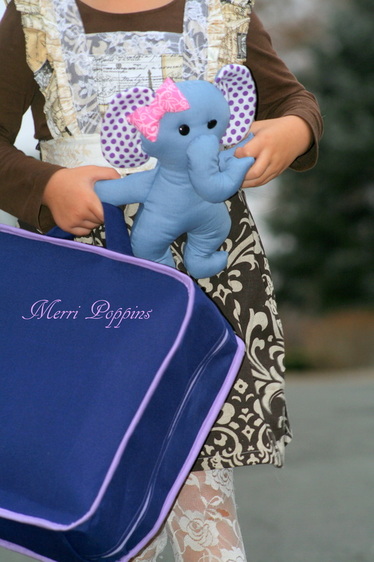
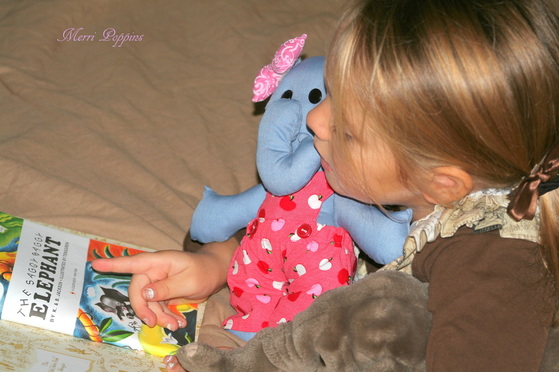
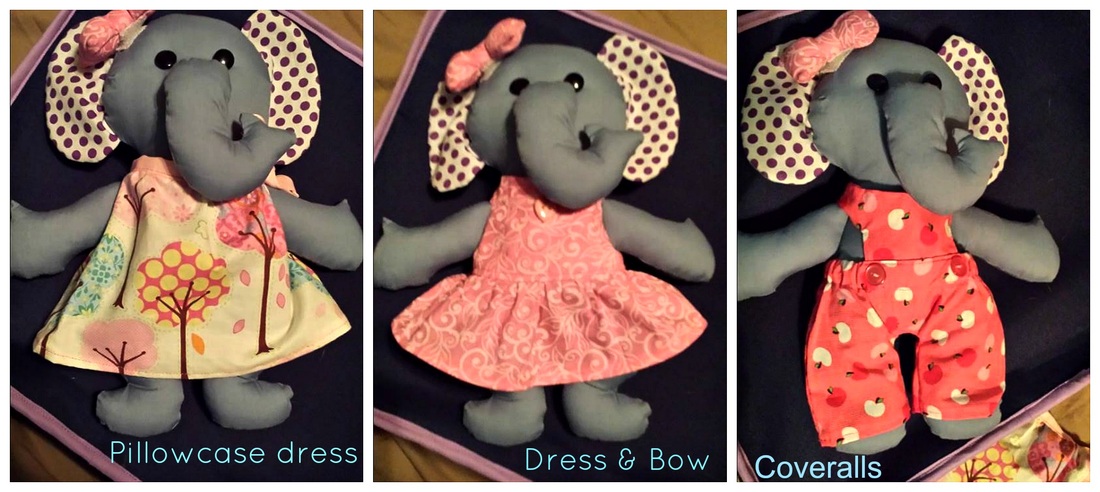
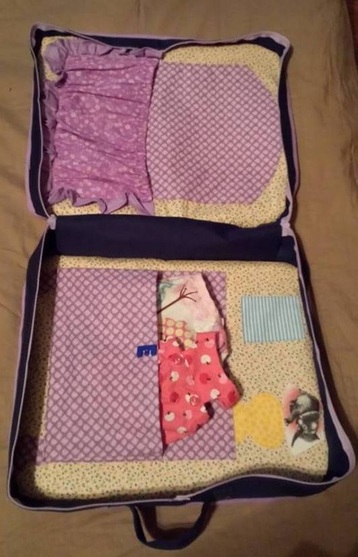
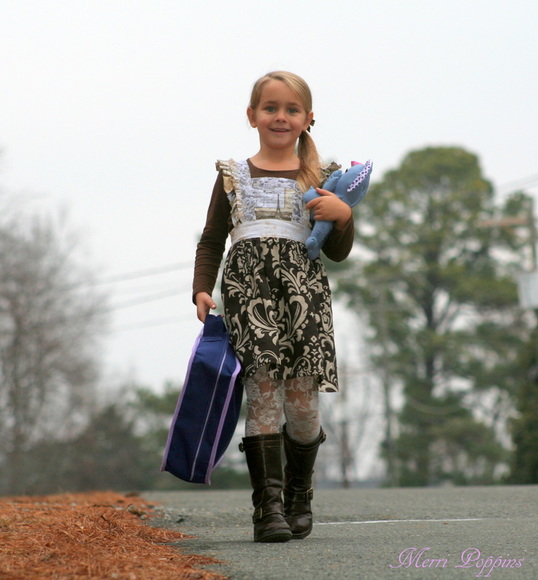
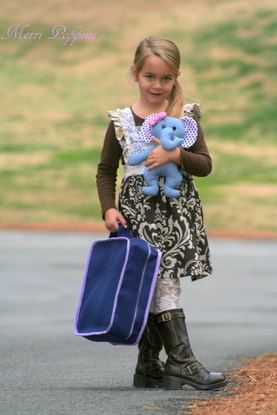
The Ellie pattern also comes with instructions for the bow, bib, and diaper accessories and those were perfect scrap busters!! I have more to sew up for Ellie in the coming weeks and I love using up my scraps. Ellie has a fabulous wardrobe and travel case to hold it all in as well!!! I only had time to make the ones below but there is also a skirt, shirt, pants/shorts, and romper to choose from. I love how they fit. Jenna is 5 and had no trouble dressing and undressing her Ellie. The pillowcase dress does have a tie closure so I would expect the younger ones who haven't learned to tie yet to be a little difficult. That style might be something you could get creative and change. The other 2 have elastic and/or Velcro closures. Her bow is also attached with Velcro which makes changing it out simple. I was worried it would fall off during playtime, but it didn't. The travel case was a little challenging for me. Not only does it take a little bit of time but it's different than sewing clothing. I worked on it for a couple of days off and on. I used a canvas type of material for the outside of the case and made my own bias tape to keep with the purple theme. You really need to take your time and go slooooow while sewing it especially around the corners. Things like this are not as forgiving as ruffley dresses so pin, pin, and pin some more. The fabric layers are thick at times especially when attaching the bias tape. The instructions are well written and she prepares you for those parts, so if you go step by step it's easy to follow. The notches are the guides to lining everything up, so make sure you include those when cutting your fabric out. I also double stitched the handle( which is not in the instructions) where it attaches to the case just because its a area that will have some strain. The bed pocket is roomy enough for young children to be able to put Ellie down for a nap and the dresser flap holds the 3 outfits I made. This would be perfect for a long car ride!! So pack your bag Ellie so we can go play!!!! Until next time!!!
JaNette
Is it REALLY my birthday tomorrow? Geez. I seriously suck at blogging...almost a whole month has gone by with only 1 post! Ok, ok. Birthday resolution....organization!!! Pinterest should be my friend, right? Tons of organization on there I can gawk at.
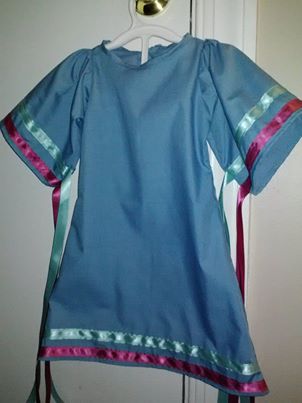
So, I have been making stuff lately..ofcourse...but more specifically lastnight I FRANKENPATTERNED! For those of you who do not know what that means, it is taking different parts of different patterns and sewing it all up. Sometimes I find that I can't get ALL of the elements I'm looking for in 1 single pattern. This happened to me recently when I tried to find a pattern for a Native American Ribbon Dress. Although, I should have made The Ribbon Dress more true to form than I did...I ran out of time to practice. AND there is a paper pattern out there...but alas...paper patterns and I don't mix well. I will have to post those mis- haps one day. Outtakes if you will. So enters FRANKENPATTERNS!
A-line...check!
sleeves....check!
no elastic....check!
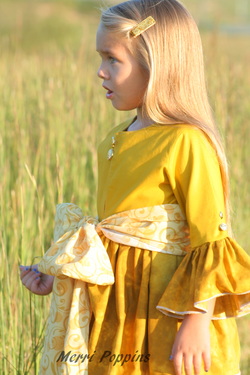
This little dress is for a special little one who is going to the Thanksgiving celebration at the Governor's Mansion. I hope to post some more pictures soon!! More importantly.....I hope it fits! That's the thing about frankenpatterns...they haven't been "fit-tested". I sure hope this one fits well!! Guess we will have to wait to find out the verdict.
Until next time!
JaNette
oh yeah, this post was supposed to be about Birthdays! I'm must be getting 'old'....for my forgetfulness...here is a 35%off coupon to celebrate!
35Birthday
Thanks friends!!!
 Ahem...why yes Amelie and Henri may I have another? Here is the Esmee dress which is surely going to be a show stopper for you as well. Jenna has worn this a few times now and everyone loves it. I even put her in this for her school pictures. I used actual lining on the inside and I think that is what she likes the most. "It's so silky, Mama!" is what I have heard a dozen times now. I guess I will start lining her future dress bodices with actual lining from here on out..LOL I can see so many possibilities with this dress...lace overlay, lace ruffle, sweet little Easter prints and so many more. The cute little pockets were very easy to install. I thought that would have been harder! Aside from faux pockets, I have never made something with useable pockets before. Shocked, aren't ya. The skirt is just full enough for them to blend right in too!! Moving right along to Halloween........ Let me just say, it was a blur. Jenna and I did get a couple of pumpkins the week before Halloween on her class trip. Normally we try to go as a family but with everything going on lately, there wasn't any time. So the girls carved the 2 from the fieldtrip a few days before. I made a rag doll a while ago to coordinate with the Esmee dress using Dolls and Daydreams pattern. Jenna LOVES it! Who knew? So for Halloween her dolly needed a costume as well. I made her a mermaid costume from an idea I have had rolling around in my head. I didn't even have to use the seam ripper. I was more excited of how it turned out than Jenna. Let me say, sewing Barbie clothes is not my thing. It's very, very, very small. There is virtually nothing to grab on to help keep the stitches straight. I had to just hope the machine didn't eat it as those tiny straps were sewn up. I got lucky but unless I can figure out a better way, I'm not doing that again. Those straps were Barbie small. It was too stressful. We have been going to my brother's house for the last few years on Halloween night for trick-or-treating. I didn't even get a pict of all of the kids this year. I will have to steal one from my sil as I'm pretty sure she took one. Jenna was Tangled, ofcourse! Patrick was Baby Mario-LOL, Ashton was a Baseball Fan, and Hailey was an Egyptian (an old dance costume). I'm not sure at what age is too old to go trick-or-treating but as long as they actually dress up, I'm going to let them go. I'm hoping to get back into the swing of things really soon!!! Christmas is just around the corner and I have a ton of things in mind to make. Guess I better get crackin'!! Until next time..... JaNette
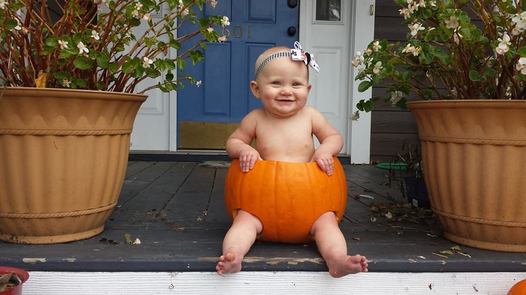 P.S. How cute is this? I love getting tagged in customer picts on Facebook!! So please tag me!!!! Only thing better is I'm related to this little cutie!! Sweet little Addy wearing nothing but a pumpkin and a MerriPoppins bow...melts my hear!
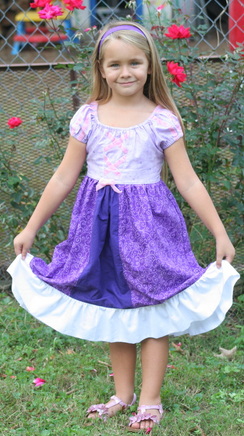
Many of you have noticed I have been quiet on my page recently. My uncle, who was a very important person in my life, passed away. In the midst of all that was going on with that I was working on 2 tester dresses!! Yikes! So, one is still in testing but the second I can share...... My friend Salena took these picts of Jenna for me spur of the moment. What a life saver!! Jenna cried when all of the hospital visits were done because she wasn't going to Miss Salena's house after school. I have so many great memories of my uncle and now this Rapunzel dress will just be another. Even though it was at a really sad time...I will smile when I see this in our costume box in years to come. He taught me to drive and always kept me laughing, great big belly laughs. I will remember how I held his hand and told him I loved him. I'm not close to my dad so this fella was the next best thing. So I hope he watches over my family and sees all of these awesome creations you ladies make possible for me to create :) This pattern is by Made for Mermaids. Megan's everyday princess wear is exactly what I have been dreaming of for a while. Remember the Pooh tunic? Yeah, I was pretty proud of that one!!!! Until next time, JaNette
Today, I received the cutest picts in my newsfeed. O MY GOODNESS! That child is super adorable! Not to mention the tu-tu and satin flower are perfectly pink. I just had to share!!!
Until next time!
JaNette
 And so is the newest pattern from Amelie & Henri. The Elenora Ruffle Tea Coat in girls sizes 3 moths to 10 years and tween sizes 10 to 16 is super duper adorable!!! I was one of the lucky ones to test this and I can't rave enough about this designer. The pattern is so easy to follow and has WOW! factor to boot. The Bug has really enjoyed the twirl factor and all of it's ruffle-y goodness. It always amazes me that I am able to sew coats. They seem like they would be super hard but infact some of the dresses I have made have been 10x harder. I can see so many possibilities with this coat that I do not have the time to try and make. It's such a romantic piece ::swoon:: Anyway, happy fall ya'll and enjoy the slide show at the end :) Until next time... JaNette
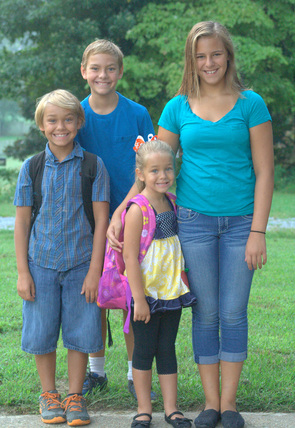
We survived the first week of school!!! Yippee!!! There were no tears from me or the kids!! Hooray! Little brother had a hard time adjusting without big brother at school (the second week of school), but it seems that for now all is well. Jenna has not worn the same outfit twice...which completely cracks me up. I am however, happy to have made that first day of school outfit after all. I have a school related tutorial to post soon!! Can't wait to share what I have been making....
JaNette
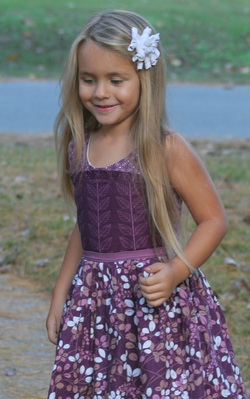
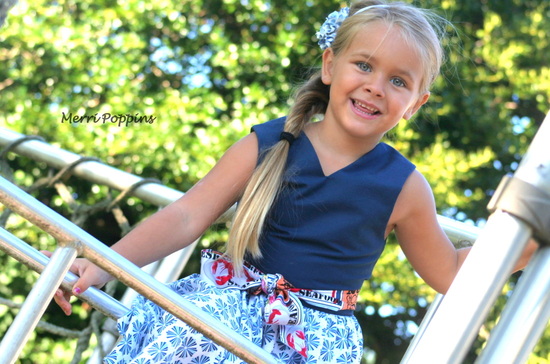
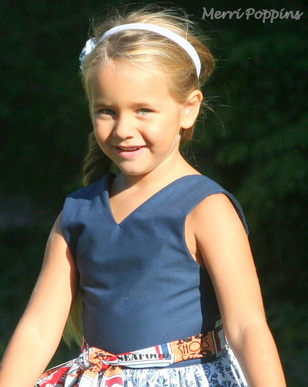
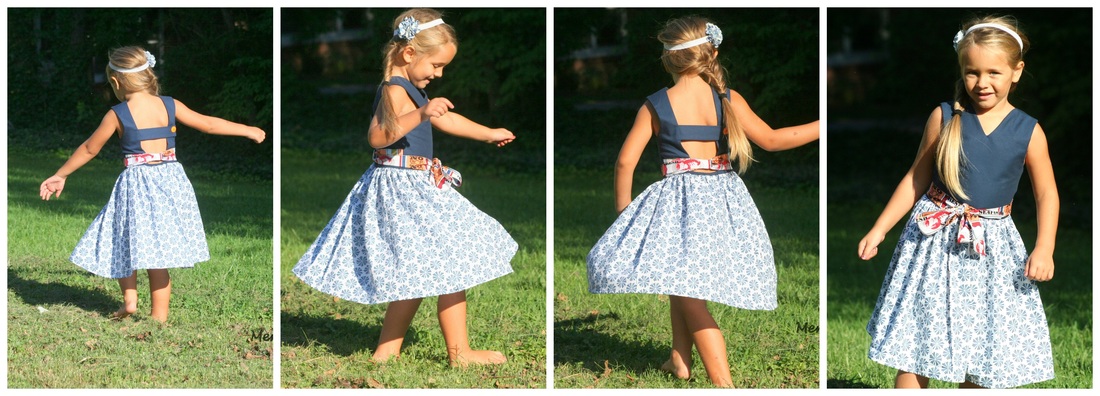
Watch out twirly fans! Not only does this lovely Saffron Twirl Dress by Zafarani have great twirl factor, but it has several neat little features about it.
Here is what you get:
clearly written instructions with pictures, suggested fabrics, list of materials needed with yardages, image to place patterns to minimize fabric used, cut list and measurements in standard and metric, numbered pages, separate pattern pages broken down by size and page number (minimizing paper and ink), 1" test square, pattern pieces clearly labeled including designer's name, option to cut on the fold.
EVERYTHING I look for in a fabulous pattern! Because let's face it, who has time to decipher? With 4 kids getting ready to go back to school, time is of the essence!
Let's dive right in......
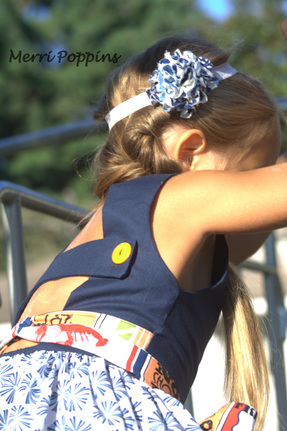
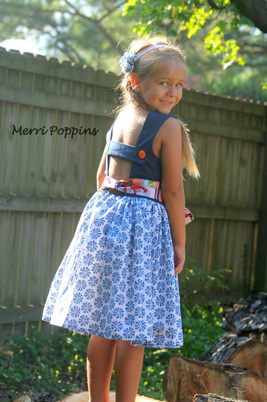
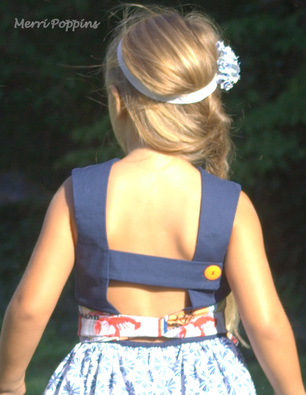
At first glance we notice the V shape bodice. As long as you follow the directions while sewing the bodice together and make sure you clip almost to the stitching, it will be fine. I didn't clip it far enough at first and had to go back and clip it almost to the thread which always makes me nervous!!! But without doing so, it will bunch up and you don't want that. The tie is sewn into the bodice but I'm sure if you would rather leave it off and use as a sash instead, you can. I choose to attach mine as the pattern said. I'm such a rule follower...LOL I did try to be creative with using a printed fabric and have the words going the right way but if I tie it to the back, the words are upside down....oooops! I didn't think about that. There is an option for a shorter length for the tie, too. I made the longer length to be able to wrap it around her and still have a decent amount for a bow. Now, I'm sure you were bound to notice the open back and button closure as you examined my sash!! This is my favorite feature of this dress!!! The closure sits just below her shoulder blades making it comfortable to wear. There are detailed directions on where to place the strap while it's being sewn into the bodice, so no worries there. Moving on to the skirt....it's attached a little differently than most. Encasing the seams is a new technique to me, but it makes a nice alternative for those who don't have a serger. There is a little piece of elastic in the very top of the back of the skirt that helps it fit nicely. Then there is the full twirl factor that every little girl loves. I know mine does!! Right now it's still warm enough to still wear sleeve-less, but for those cooler mornings heading off to school I plan on pairing it with a jacket of some sort to extend it's wear. Plus it looks like it will be one of her new favorites!! We all know how hard it is to get kids to not want to wear those favorites when it's 20 below. This is a great addition to your patterns and in a couple of hours time you will have something new!! Happy creating :)
JaNette
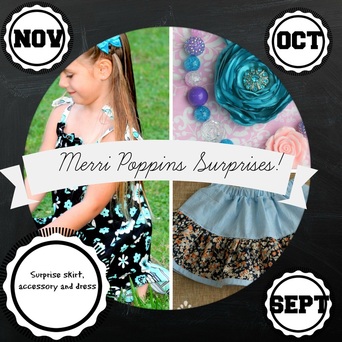
I am happy to announce Merri Poppins Surprises! The first of many packages that allows me to get creative!!! I will pick through my patterns to come up with the cutest new dresses, skirts, capris, tops, chunky necklaces, bows, ribbon creations and much more!! This means you sign up to receive what ever I can create in 3 categories of my choosing (this first package includes a skirt, dress, and accessory pack). This means..... in the month of Sept you will receive a skirt in the mail from me ....in October you will receive an accessory pack ...and finally in November you will receive a dress. I will only offer these Surprise packs for a limited amount of weeks. Starting this week, you will have until Sept. 1 to make your purchase for the first collection!!! Once Sept 1 comes, this package goes away!!!! It will be replaced with another collection in Dec. You will be able to join in the fun every 3 months and you will also have the opportunity to purchase the next surprise pack as they become available. These packages will be discounted and will offer free shipping in the USA. All of these will be my choice of fabrics, ribbons, beads and patterns. Feel free to send me a message of what you would like to see, but understand there are no guarantees. I love themed sales so I just might offer one of those at some point too!!! Oh, so many options running thru my mind!! I can't wait!! JaNette
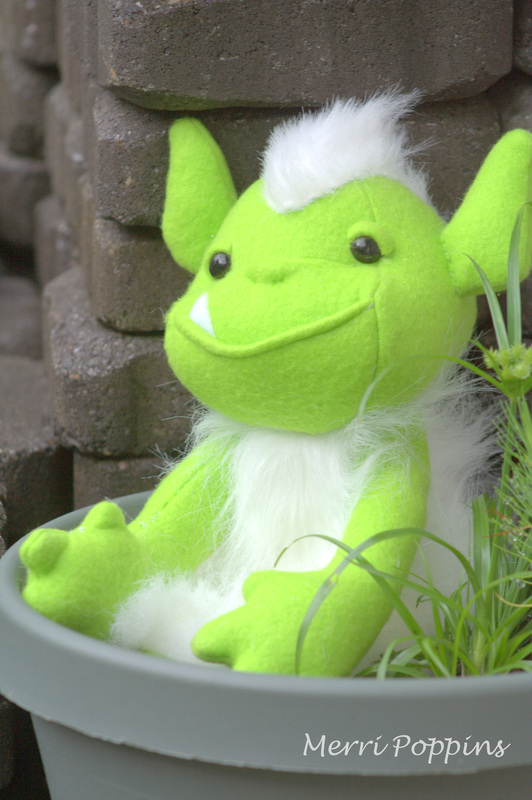
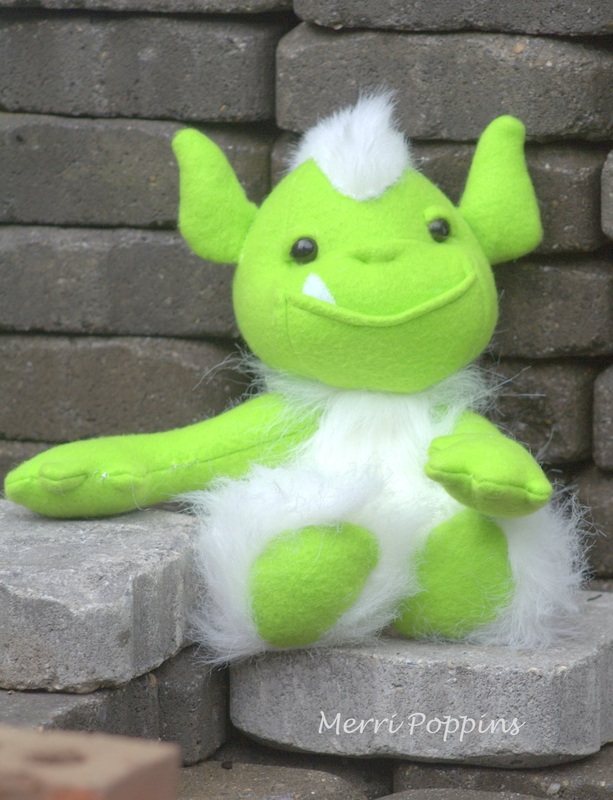
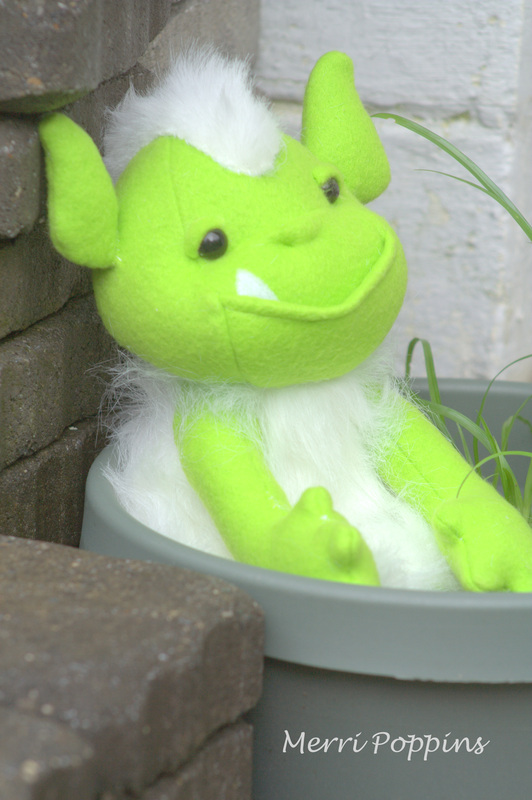
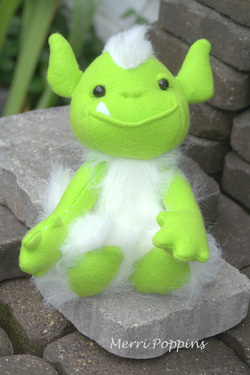 Recently I had an opportunity to review a pattern that quite frankly had me shaking in my boots. I know you all think I have made everything under the sun but I haven't. It always amazes me that people think just because you sew that you can sew anything and everything. Well, this review proves those people completely CORRECT! You can make this. YOU!! Ya know, the one reading this post. Yes, YOU! I'm not kidding. I think I chose the hardest of the patterns but it came out beautifully! NimblePhish is the designer of these easy to sew stuffies. I made Otto the Ogre and he is one hairy fella! I need to brush up on my ladder stitching (the way you close the holes after stuffing so you don't see the thread) to make this more "polished" when it's all finished. The fabric does get a little thick in places so you do have to go slow to make sure you catch every layer. I did have to go back and redo a few pieces because it didn't catch everything. Eh...it happens. The hairy legs were difficult to turn compared to the rest. I'm sure there was an easier way to do it than I did. My most FAVORITE part was making the face! For those of you who don't know, I make cakes. Anytime there is a request for a character like a princess or actual human features...I cringe. I am not an artist. I do not draw. So there is my weekness.....faces and eyes. Since this fella has some facial features, I thought "great...he will end up looking like an alien or something really far fetched". NOPE! He looks pretty darn good! Yes, I see now where I could have exaggerated the nose a little more with spacing the threads out, so that the polyfil could actually fill his nose. That was my favorite part...sculpting. The lip is cute and I can see a toddler saving some goldfish crackers in there. As I was sewing it, it started to take shape immediately. The pieces are perfectly spot on. I didn't however pay attention to the direction of his Mohawk, so he got a little trim afterwards to make it even. If I were to make another I would spend the extra money and buy the more expensive faux fur. I have a feeling it will lay better. I seriously can not wait to make another from her collection! JaNette
|


 RSS Feed